


|
Posted: 09 Oct 2012 07:34 AM PDT
Today I want to share a tutorial for a Mini Craft Foam Accordion Book that makes a great craft for a group, or, made up ahead of time, they are perfect for small gifts, party favors and stocking stuffers. They can be customized to any theme and can be used as books, journals, or mini photo albums. The mini books are made using materials from the Spangles Foamies Party Platter, part of the Creatology line by Darice at Michael's. On the platter there are a variety of pre-cut foam shapes that are plain or glittered and in the center you'll find mini pom poms, sticky back gems, and sequins. There are also foam stickers in assorted colors that make decorating really easy. For older kids, just set out the Foamies Party Platter, glue, scissors and paper and they will be able to do everything themselves. For younger kids you may want to make the books up ahead of time and then let them have fun decorating the covers. Craft Foam Accordion Books Materials: Spangles Foamies Party Platter copy paper or cardstock glue stick white glue or glue dots scissors ruler pencil
Directions:
1. My books have six panels but you can do more or less, whatever suits you. I had to cut two different strips, one that was 2" x 8" and one that was 2" x 6". Then glue stick them together, overlapping one panel, to get one six panel strip. Fold the strip accordion (concertina) style every two inches. To make it easier, I created a simple graph in a word processing program :) 2. Put glue or glue dots onto the front panel of your accordion strip, center over the front cover and press down. 3. Put glue or glue dots on the back panel of your accordion strip and glue down the back cover so that it lines up with the front cover; press with a heavy book until dry if using white glue. 4. Now decorate your cover however you like! Use the pre-cut shapes and adhesive back stickers or you can cut your own shapes - very easy with regular scissors. Glue dots work the best for this but you can use white glue too. All finished! Connect with Michaels and Darice via: |
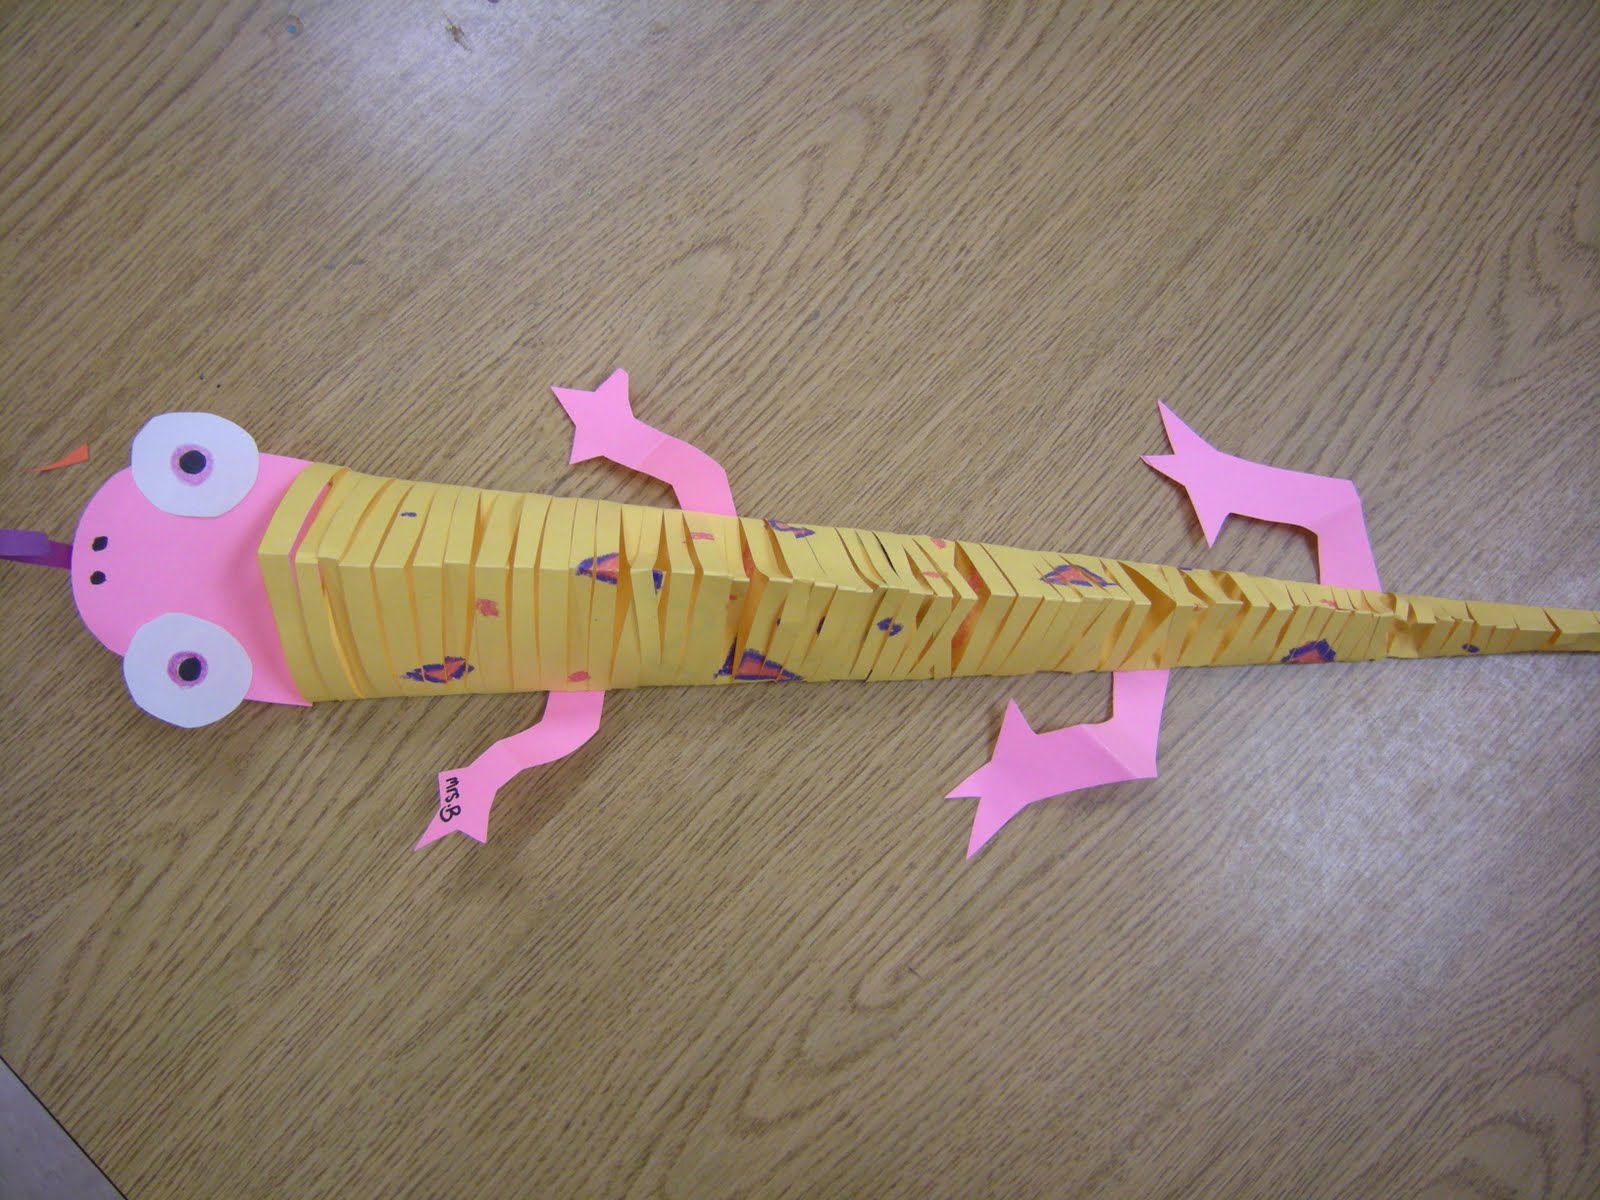
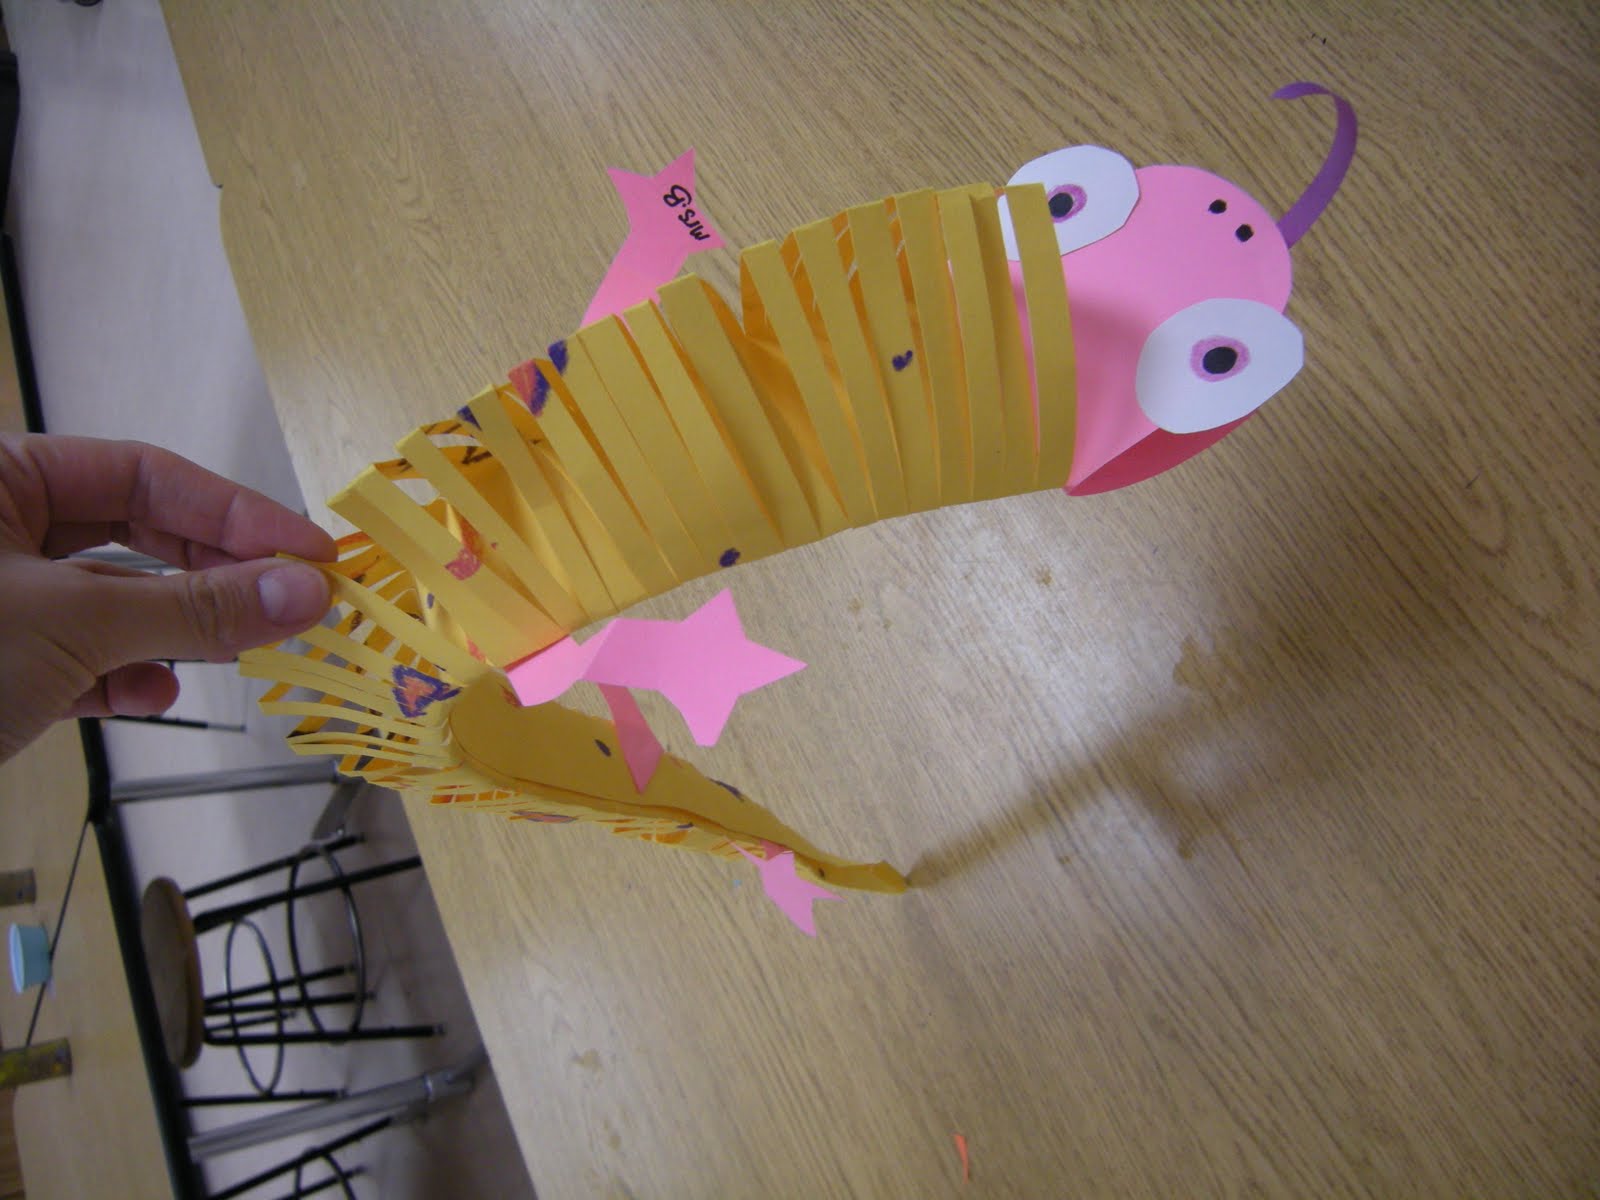 your done!
 make head and legs
 fold un cut pieces together and glue
 fold in half cut up to folded line teacher made. very important to cut to the fold or lizard will not bend nicely!
 add patterens!
 Teacher comes around and folds in sides while students color
 cut on line while paper is folded, large triangle is body, small ones are saved for heads and legs next art class
 Fold paper, draw a slanted line from one corner to the next
 start with large paper folded in half